Overview
Import Tool is a smart tool that helps to import your data with a step-by-step guide. The tool gives you the opportunity to modify the data right after uploading the import file and validate before the importing process. After the import process is completed, you also have a chance to revert the system to the previous state.
Here are the steps to use import data:
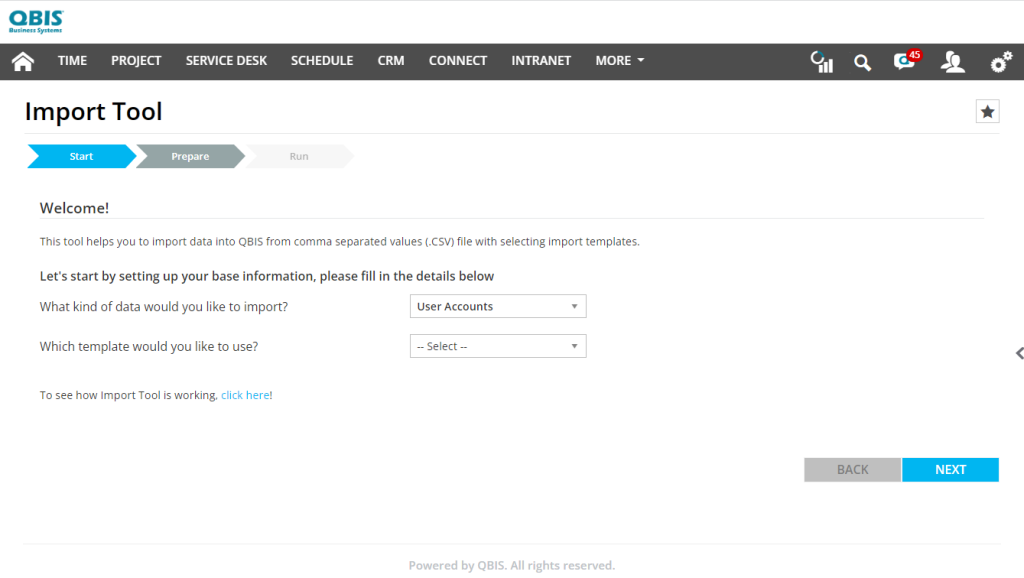
- Start: You can select what kind of data you would like to import. You can also select an import template to include more columns in the import process.
- Prepare: You can download an import template file or upload a ready file to preview the data in a list. You can view all the information and freely modify any values before importing them.
- Run: You can run the import and see the results in a view. You can also revert the import process.
Import Templates
On this page, you can create or edit an import template which helps you to include additional columns into the import process. The page is located under the System/Import Templates menu.
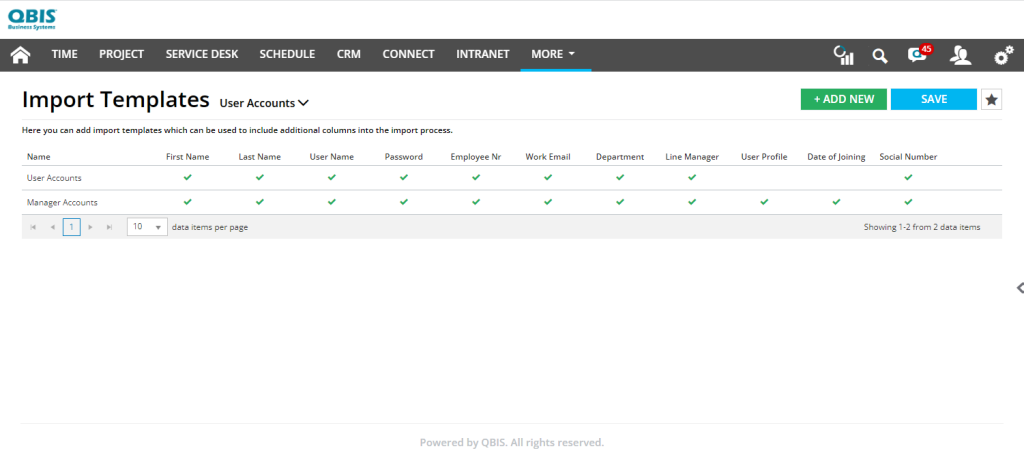
To be able to create a new template, press the Add New button. Then you can include columns by checking the corresponding checkboxes. Some of the columns are already preselected and cannot be removed from the import processes. Finally, press the Save button to save the modifications.
User Account Templates
The table below shows the columns in the User Account Template in appearance order:
| Column | Default | Editable |
|---|---|---|
| First Name | Yes | No |
| Last Name | Yes | No |
| Username | Yes | Yes |
| Password | Yes | No |
| Employee Number | Yes | Yes |
| Yes | Yes | |
| Department | No | Yes |
| Line Manager | No | Yes |
| User Profile | No | Yes |
| Date of Join | Yes | Yes |
| Social Number | No | Yes |
Note: The Department and Line Manager columns are not default but the corresponding fields are mandatory in QBIS. When the Department and Line Manager columns are not included in the template, you need to make sure that both fields have default values. Otherwise, QBIS will assign the first items of both the Department and Line Manager dropdowns as default values.
Note(2): The Start Page field is mandatory in QBIS but no column exists corresponding to that field. However, you can select a User Profile, in which case the Start Page will be inherited from User Profile. In case User Profile is not selected, QBIS will assign the following default value:
- Time module as Start Page if the user has Time module access and user/manager/admin permission.
- Dashboard as Start Page for any other occasions.
Import User Accounts
You can reach Import Tool from the options on the User Account Register page:

Selecting the option will navigate you to the Import Tool page with User Account pre-selected as import type. You can also select an import template or directly continue to the next step.
Prepare is the second step where you can upload a file to import and then preview the data in a list. You have the possibility to make some final modifications or corrections before the import process.
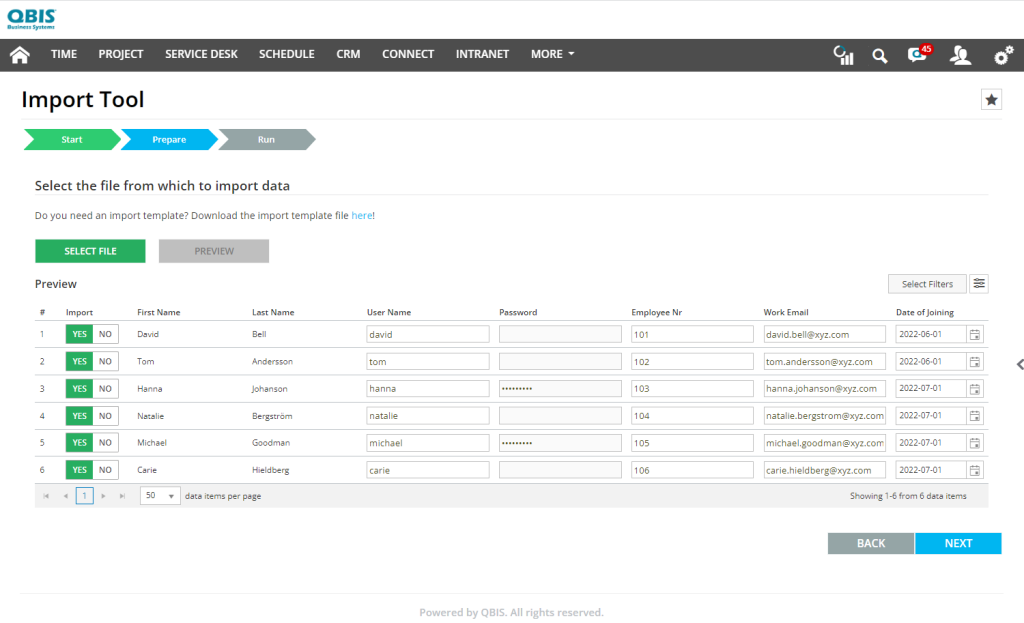
When creating user accounts, you can either fill the Password column or leave it empty , so that QBIS will generate a random password for the account. The passwords can also be sent to the account owner if you enable the related setting in the Import Settings dialog. Once you are done with the configurations, you can navigate to the next page.
Run is the last step where you start the import process.
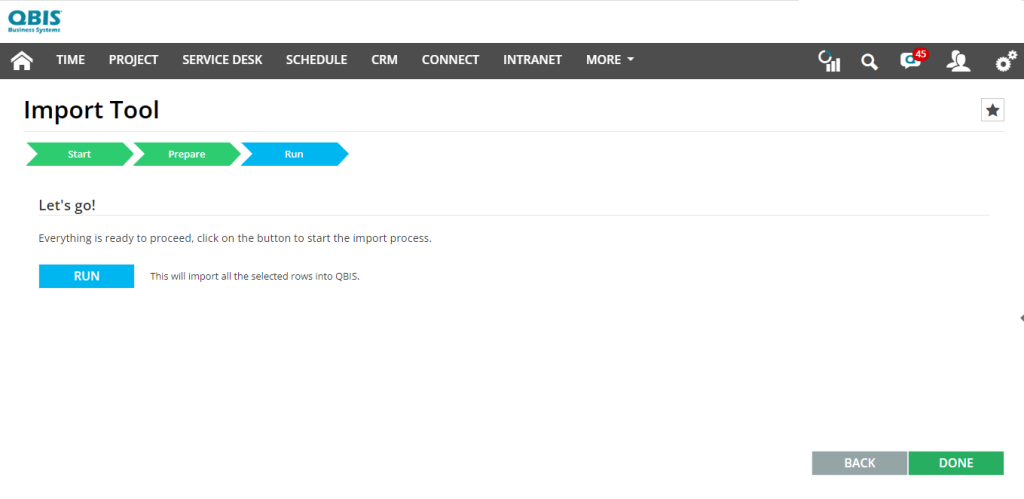
Once the import process is completed, the result view summarizes the import progress with total/added/failed records. On the top part, you can see the total number of records inside the import file and how many of them are set to be imported after the file is uploaded and validated by QBIS. On the bottom part, you can set the added records with green and failed records with red colour.
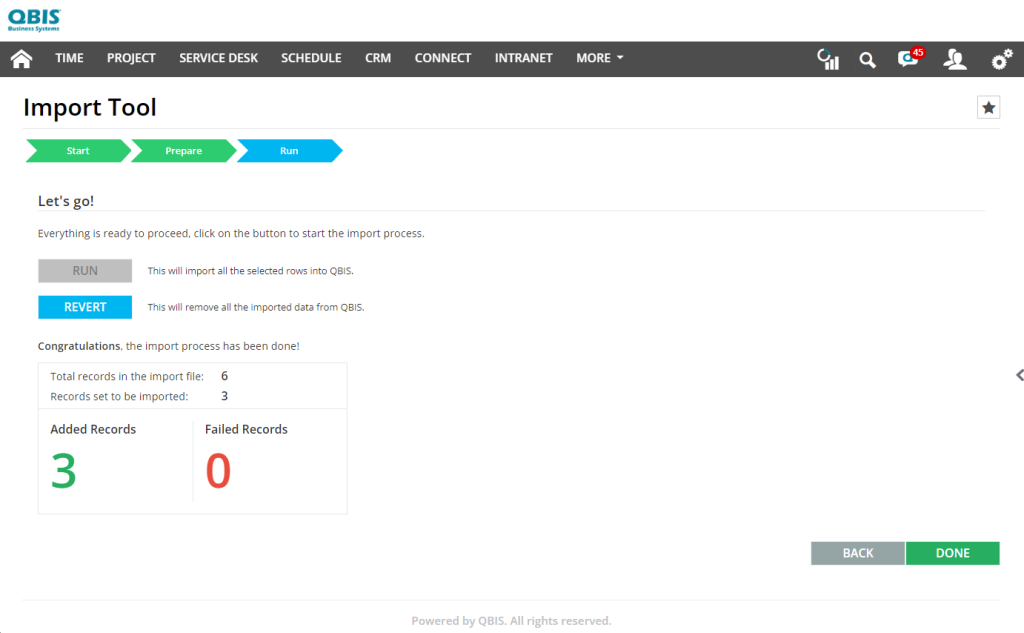
You can even remove all the newly imported user accounts by pressing the Revert button.
Note: To be able to remove the user account, there should be no time registrations related to the account.